Skip to content
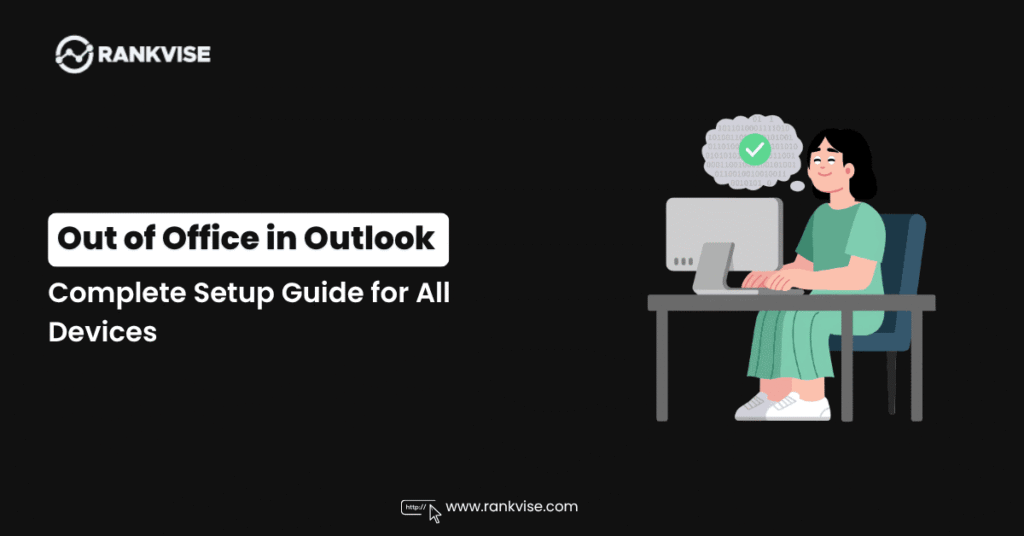
You are heading out on vacation, stepping into an all-day conference, or taking parental leave. Your inbox does not stop. Clients send proposals. Colleagues tag you on urgent threads. And without an automatic reply in place, every unanswered email chips away at your professional credibility.
- Use Automatic Replies with Microsoft 365 or Exchange. Server sends replies when your computer is off. POP or IMAP require a client rule.
- Always set start and end dates, confirm the correct time zone, and enable the time range to prevent replies after you return.
- Write concise auto-replies under 100 words stating return date and one backup contact; use separate internal and external messages when required.
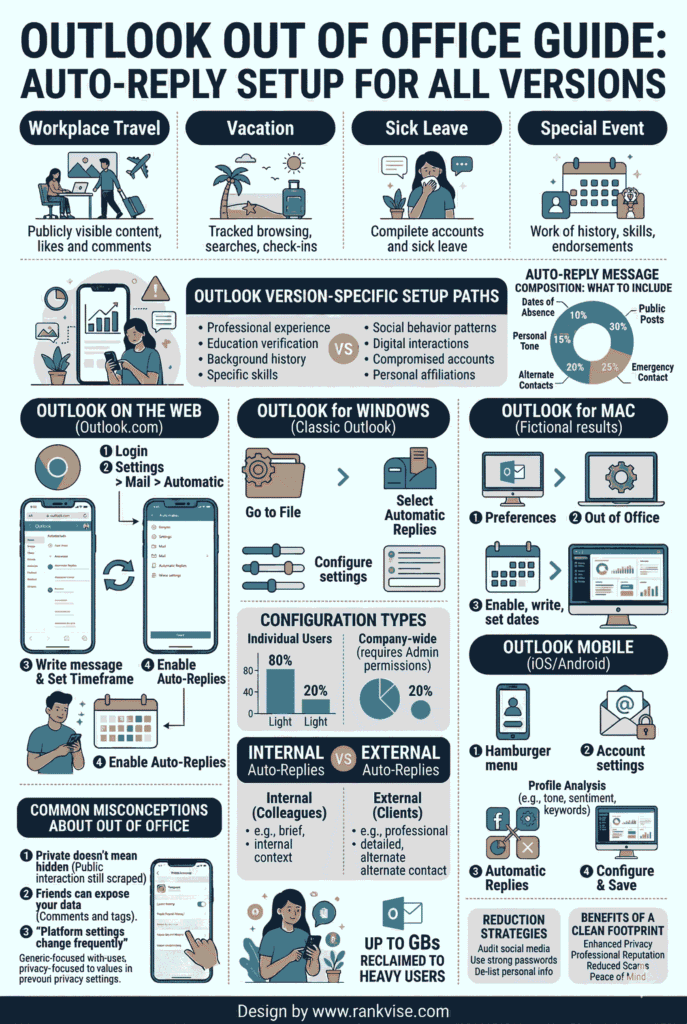
Setting up an out of office message in Outlook takes less than two minutes when you know the exact steps. The problem is that Outlook exists in multiple versions — Classic desktop, New Outlook, web, Mac, and mobile — and each one handles automatic replies slightly differently.
This guide walks you through every version, gives you copy-paste templates, and helps you sidestep the mistakes that catch most professionals off guard.
What Happens When You Turn On Automatic Replies
Before diving into the steps, it helps to understand what Outlook actually does behind the scenes. When you enable automatic replies, the Microsoft Exchange server (not your local computer) intercepts incoming emails and sends your pre-written response.
This is a server-side function. Your computer can be completely shut off, and replies still go out. The server also enforces a one-reply rule, meaning each sender receives your auto-reply only once during the entire period. This prevents awkward loops where two auto-responders keep emailing each other endlessly.
One important caveat: this server-side feature requires a Microsoft 365 or Exchange account. Personal POP3 and IMAP accounts do not support it natively. More on that workaround later.
How to Set Up Out of Office in Outlook Desktop (Classic Version)
This method applies to the traditional Outlook desktop app on Windows, the version most corporate environments still use.
- Open Outlook and click the File tab in the top-left corner.
- Select Automatic Replies (Out of Office) from the Account Information panel.
- Choose Send automatic replies in the dialog box.
- Check the box labeled Only send during this time range and enter your exact start and end dates and times.
- Type your message in the Inside My Organization tab for colleagues.
- Switch to the Outside My Organization tab and write a separate, more formal reply for clients and external contacts.
- Click OK to activate.
Outlook uses your system’s local time zone for scheduling. Double-check this if you are traveling across time zones before your leave begins.
Setting Up Automatic Replies in the New Outlook for Windows
Microsoft has been rolling out the redesigned New Outlook for Windows since late 2024. The interface looks different, but automatic replies still work through the same Exchange backbone.
- Click the Settings gear icon in the top-right corner.
- Navigate to Mail, then select Automatic replies.
- Toggle the switch to turn on automatic replies.
- Set your start and end dates using the calendar picker.
- Compose your message in the text editor. You can toggle between sending replies to everyone or only to your contacts.
- Click Save.
The New Outlook merges the internal and external message options into a simpler layout. If your organization requires separate messages for internal and external audiences, check with your IT team about Exchange-level policies that may override this.
How to Set Up Out of Office in Outlook on the Web (OWA)
Outlook on the web is ideal when you need to activate your auto-reply from a hotel lobby, a borrowed laptop, or any browser.
- Sign in at outlook.office.com or your organization’s webmail portal.
- Click the Settings gear icon, then select View all Outlook settings at the bottom.
- Go to Mail and choose Automatic replies.
- Toggle automatic replies on and set your date range.
- Write your message and choose whether to send replies only to contacts in your organization or to all senders.
- Click Save.
This web method is particularly useful as a backup. If you forgot to set your auto-reply before leaving the office, you can do it from your phone’s browser without installing any app.
Setting Up Out of Office in Outlook for Mac
Outlook on macOS follows a slightly different path than the Windows version.
- Open Outlook and go to Tools in the top menu bar.
- Select Automatic Replies.
- Check Send automatic replies for account and pick the relevant email account if you manage more than one.
- Set the time range by entering start and end dates.
- Write separate replies for internal and external recipients using the two available tabs.
- Close the window to save and activate.
Mac users should note that this feature also requires a Microsoft 365 or Exchange-connected account to function when Outlook is closed.
How to Set Up Out of Office on the Outlook Mobile App
Whether you use iOS or Android, the Outlook mobile app makes it simple to activate automatic replies on the go.
- Tap the profile icon or menu icon in the top-left corner.
- Tap the Settings gear icon.
- Select your email account under Mail Accounts.
- Tap Automatic Replies and toggle it on.
- Set the time range if the option appears (availability depends on your server configuration).
- Type your message and choose whether to reply to everyone or only people in your organization.
- Tap the checkmark or Save.
The mobile app is the fastest option when you realize mid-commute that you forgot to turn on your vacation reply. It syncs directly with your Exchange server, so the reply activates immediately.
How to Write an Effective Out of Office Message
A good auto-reply answers three questions for the sender: When are you back? Can they reach someone else? Will you respond later? Anything beyond that is unnecessary.
Here is a ready-to-use template for external contacts:
Subject: Out of Office Until [Date]
Thank you for your email. I am currently out of the office and will return on [Date]. I will have limited access to email during this time. For urgent matters, please contact [Name] at [Email/Phone]. I will respond to your message when I return. Best regards, [Your Name]
And a concise version for internal colleagues:
Hi, I am away from [Date] to [Date]. For anything related to [Project/Area], please reach out to [Name] at [Extension/Email]. All current files are in [Shared Drive/Channel]. I will catch up on messages when I return.
Keep your message under 100 words. Long auto-replies rarely get read in full. Focus on the return date and the backup contact — those are the two pieces of information every sender actually needs.
Matching Your Message Tone to the Situation
Not every absence calls for the same style of reply. A brief medical appointment requires a different tone than a two-week holiday. Here is a quick reference:
| Situation | Tone | What to Include |
|---|---|---|
| Standard vacation | Warm and professional | Return date, backup contact, limited email note |
| Business travel | Direct and brief | Availability windows, alternate contact for urgent items |
| Parental or medical leave | Gracious and clear | Extended return date, primary backup, no pressure to respond early |
| Short absence (half-day) | Casual and specific | Exact return time, single point of contact |
| Holiday season closure | Friendly and seasonal | Office reopening date, emergency contact if applicable |
For external clients, always default to a professional tone regardless of the reason. Save casual or lighthearted messages for internal colleagues and only when your company culture supports it.
What to Do When the Automatic Replies Button Is Missing
If you open the File tab and do not see the Automatic Replies option, your account likely uses POP3 or IMAP instead of Exchange. These protocols lack server-side auto-reply support.
The workaround involves creating a client-side rule. Go to File, then Manage Rules & Alerts. Click New Rule, choose Apply rule on messages I receive, and set the action to reply using a specific template. You will need to create and save a reply template first.
The critical limitation here is that this rule only runs while Outlook is open on your computer. If you shut down your machine, the replies stop. For professionals who rely on POP or IMAP accounts, consider asking your IT department about migrating to Microsoft 365 for full auto-reply functionality.
Common Mistakes That Undermine Your Auto-Reply
Even experienced professionals stumble on a few recurring issues. Forgetting to set an end date is the most common — your reply keeps firing days after you return, making you look disorganized. Always enable the time range toggle.
Another frequent error is providing too many backup contacts. When a sender sees three names with different responsibilities, they often email none of them. Limit yourself to one primary contact and, at most, one secondary.
Typos in your backup contact’s email address silently break the entire point of your auto-reply. Copy and paste the address directly from your company directory instead of typing it manually.
Finally, many people forget to update their Microsoft Teams status alongside Outlook. Your colleagues may see you as “Available” on Teams while your email says you are on vacation. In Teams, go to your profile picture, select Set status message, and align it with your Outlook auto-reply dates for a consistent experience.
Final Pre-Departure Checklist
Before you step away, run through this quick verification:
- Confirm the end date and time are accurate, including the correct time zone.
- Verify the backup contact’s name and email for typos.
- Ensure you wrote separate messages for internal and external audiences if your role requires it.
- Send a test email from a personal account to confirm the external reply arrives.
- Update your Teams status and calendar to reflect your absence.
- Notify your backup contact directly so they know to expect redirected inquiries.
This 60-second check prevents the most common auto-reply failures and lets you disconnect with genuine peace of mind.
FAQs
Open Automatic Replies and select the specific account from the dropdown menu. You need to configure each account separately, as auto-reply settings do not sync across accounts.
Yes. When enabling Automatic Replies, check the “Only send during this time range” box and set a future start date. Outlook activates the reply automatically at the specified time.
No, if you use a Microsoft 365 or Exchange account. The server handles replies independently. However, POP and IMAP accounts require Outlook to remain open on your machine.
Go to File, then Automatic Replies, and select “Do not send automatic replies.” On Outlook Web or mobile, toggle the automatic replies switch off. The change takes effect immediately.
Yes, the Automatic Replies editor supports basic formatting, hyperlinks, and images. You can add a link to your company website or a scheduling tool, but keep the message concise for maximum readability.